Freebies: Memorial Day Flags
Friday Fun: Scrap Paper Pack Challenge
![](https://blogger.googleusercontent.com/img/b/R29vZ2xl/AVvXsEgF-Aw6LnqVxM0aUxIzC-5KCt_AQipUliEVDFue6EJdK1d_cg08bvlRWYolhBaTcjbFz4p781IA5R9sJsgHu8r5iabDNWjFF7ytSDxLn3QbkC25ICm0ZQ3qpdzcoo9RbGFqEeSuooyj2WE/s800/PaperPile.jpg)
So, I send you a paper scrap pack (and those extra goodies), and in exchange you create, create, create, however many fun projects you can, take pictures and email them to me. I will then post about your projects with your pictures :)
Leave a comment with your email address and I will choose one (or two? or three?) reader at random Sunday (May 30) night. I will email you if you are a winner to get your shipping info. I would like to post about the projects about 2 weeks after the packs are shipped out, so please keep that in mind if you are a winner :) **EDITED: International comments welcome! :)
![](https://blogger.googleusercontent.com/img/b/R29vZ2xl/AVvXsEjokgFkPcDkvFTHFNrtsh-1hVWXkek2yi3fMB-lLEf8bcKibH_ElLvvaLIDbVGuvWY1LhDgtosuV6Jcv1v82_3ytj1tLcvxLSwwKafXP3V0AeSXn9s8YL2cm-7uD4oldnj1TAx_kt-bAFo/s800/Paper.jpg)
![](https://blogger.googleusercontent.com/img/b/R29vZ2xl/AVvXsEiYxcigG1ophVXCcS2Gge6g7Z4MdlozeWJEX-_9VXlF0DmhxTgbUr9NjY4uC4Z7HhdkZN_bL22qXcWLlEl8EJEz_Ombc8rxG8SKJAfDnbkjegfF4N77Bm1nNZru71jCF8GX4QtBZW-CxnM/s800/paperpack.jpg)
![](https://blogger.googleusercontent.com/img/b/R29vZ2xl/AVvXsEgU8CJ7YW4hU1ZTBd9h3faKrOpYU3eVzucWaSkMF-kgLbfg5GmR7i6sjd9ZNvdLmJTUc_BeEsmT94-KFuHr-WSssiJ3T65p1TwNtJUgaGXUOLafkDhEGs4CK4Bprad_5fS7V1zvPc7tcGc/s800/Header.jpg)
Tell us about yourself. Hi everyone! We�re Suze and Luke from { applechampagne }! Suze does the crafting and designing while Luke helps out with the business stuff. And we share the promoting and marketing job :) Some things we both ?: broccoli cheese soup, sunny beaches, NCIS, Randy's glazed donuts, Drops of Jupiter, tiny little clementines, CSI:Vegas, paper plates, and Snoopy!
How long have you been creating things and what inspired you to begin creating things? Suze: Been a crafter probably since before I was even born! Luke: Never really been one :)
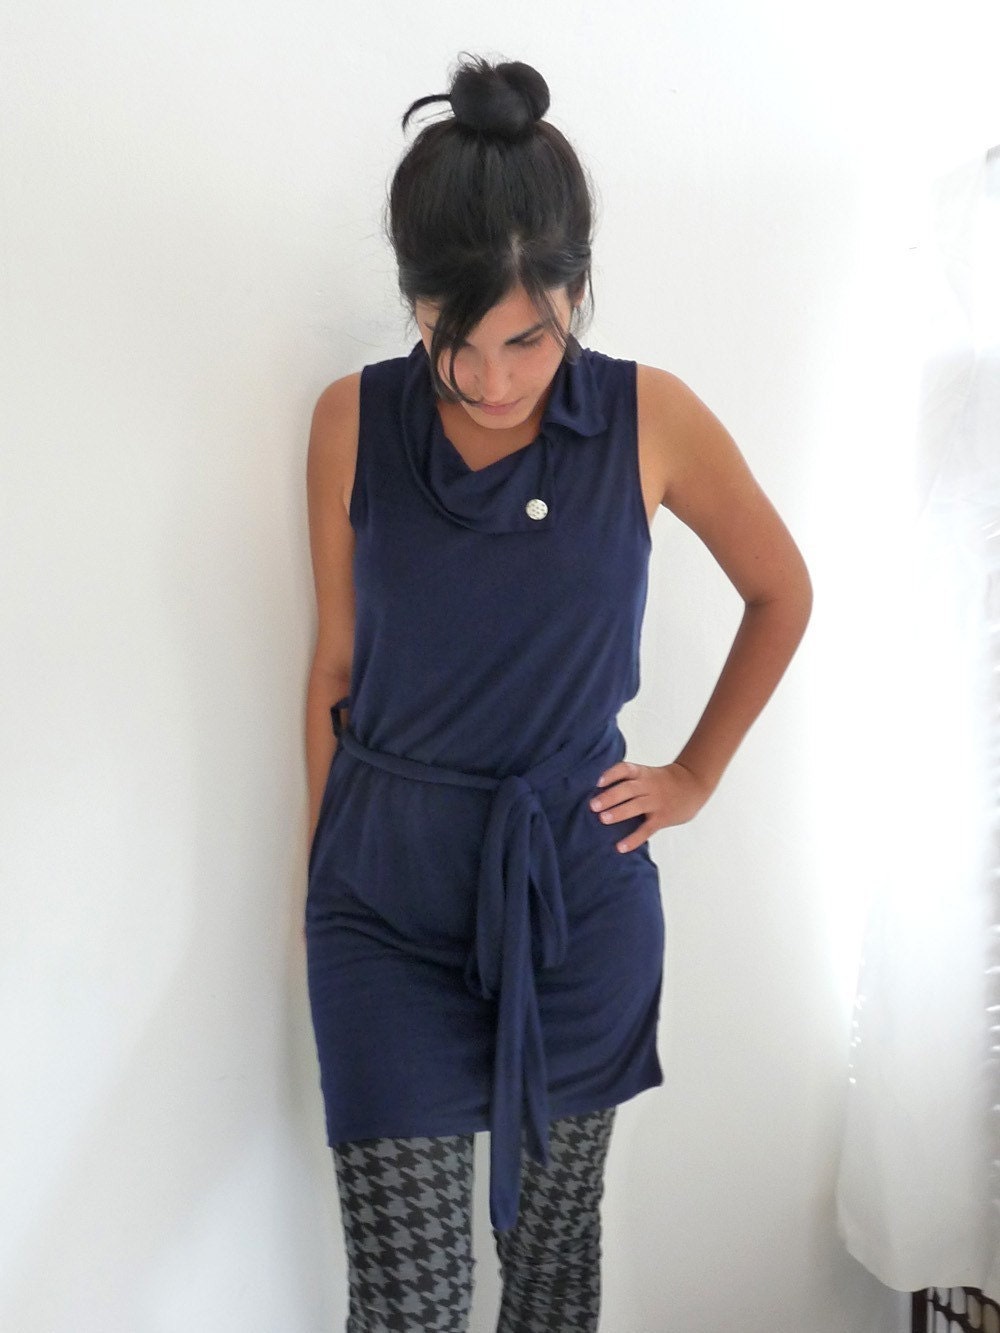
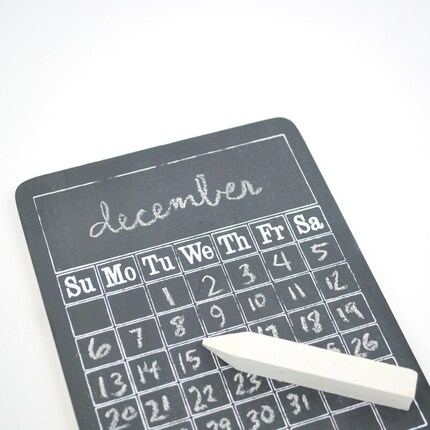
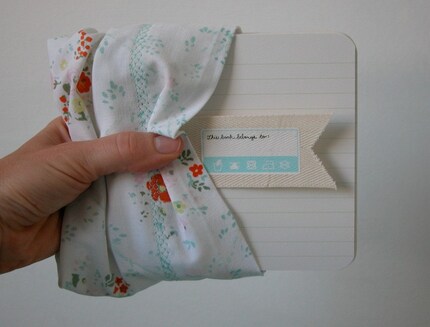
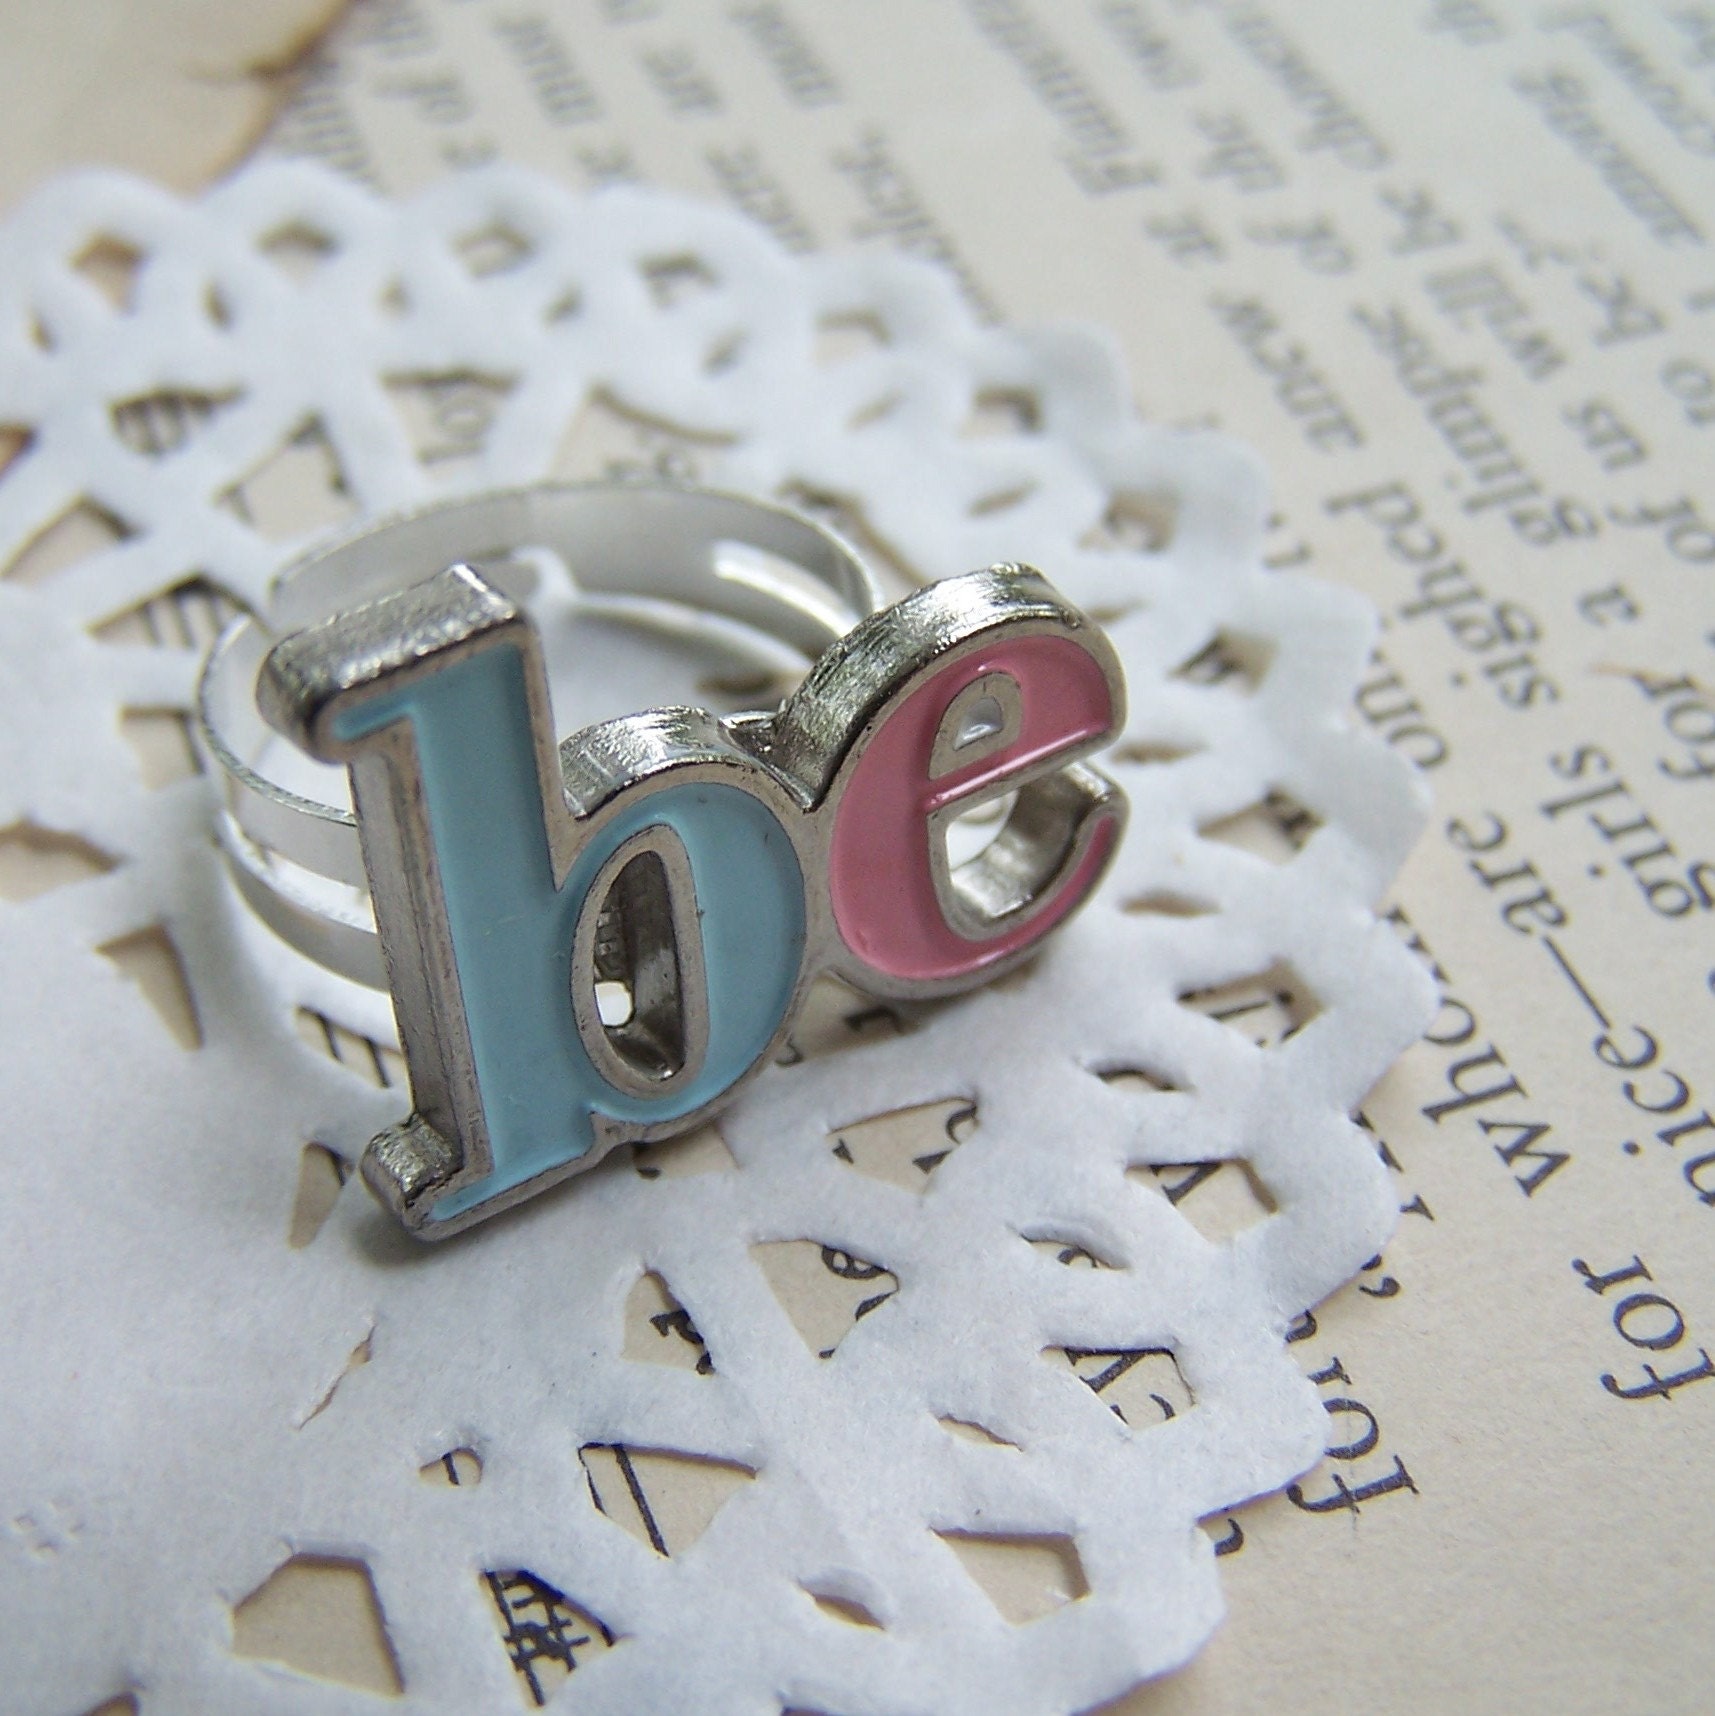
What is your shop name and what do you sell? Our shop�s name is { applechampagne } and we have quite a few different things for sale�from modern silver and acrylic jewelry to inspirational art prints and printable designer scrapbook papers and labels.
How long have you been selling online? Only since March of this year! We�re brand new Etsy babies but we did lots of research before that, so that we could hit the ground sprinting if not running. So far so good!
Describe your creative process: How, when, materials, etc. Suze: I�m always thinking, thinking, thinking�my brain�s very hyperactive! I could be doing sit-ups in the gym or watching a mindless TV show and an idea would suddenly pop up! Then I go from there. I source my materials online or in stores, and then start creating! Usually halfway through doing it I�d realize that it�s not as simple as I first imagined it to be :)
Do you promote your shop? How? Sure we do! We�re still new so we�re giving (almost!) everything a try to see which one works best for our store. So far, we like Twitter and Flickr, and being active in the forums, making treasuries, and generally being seen around Etsy is also an awesome way to be noticed by the community!
Do you sell your items anywhere else (such as boutiques, craft fairs, etc)? For the moment we�re just on Etsy but we�d love to someday open our own independent online store. Craft fairs are somewhere on our (very, very long) to-do list too so we�ll probably get there someday too!
What keeps your creative juices flowing? How or what are you inspired by? Living in the great, metropolitan, perpetually-sunny city of LA helps a LOT. There�s inspiration to be found in the vintage art prints hanging in the sweet little cupcake store in our neighborhood, the fabulous modern retail architecture along Rodeo Drive, the palm trees and the sunny beaches and the great white waves, and so many more! There�s always something new to see around here :)
How do you keep track of things that inspire you or ideas you have? Suze: By never being without my little idea journal! I�m always looking for small little notebooks with fabulous covers and very subtly-lined pages�that way it can multitask as both a notebook and a sketchbook all at once! I have too many things inside my overweight purse already; lugging two books everywhere is too much of a burden so I need multitaskers :)
What challenges do you sometimes face when creating? Suze: The challenges are not so much in the creating part of the process but in the post-creation part of it. I have so many craft and product ideas (too many sometimes) and there�s no space for them all in the store. So I have to keep thinking and thinking and basically picking my battles so we won�t be overwhelmed in the future.
What goals do you have for your shop? Plenty of sales and plenty of success! :)
What advice would you give to someone who is new to selling online? Be seen, be seen, BE SEEN! If nobody sees your store or knows about it, you won�t sell anything even if you have the most marvelous creations on earth! Also, read Etsy�s Seller Handbook thoroughly and go to the forums and read up on the successful sellers who post their tips and suggestions on what makes a fabulous and popular store�there is a TON of useful information in there!
+++
Recap: Shop: { applechampagne } Twitter: applechampagne Flickr: applechampagne
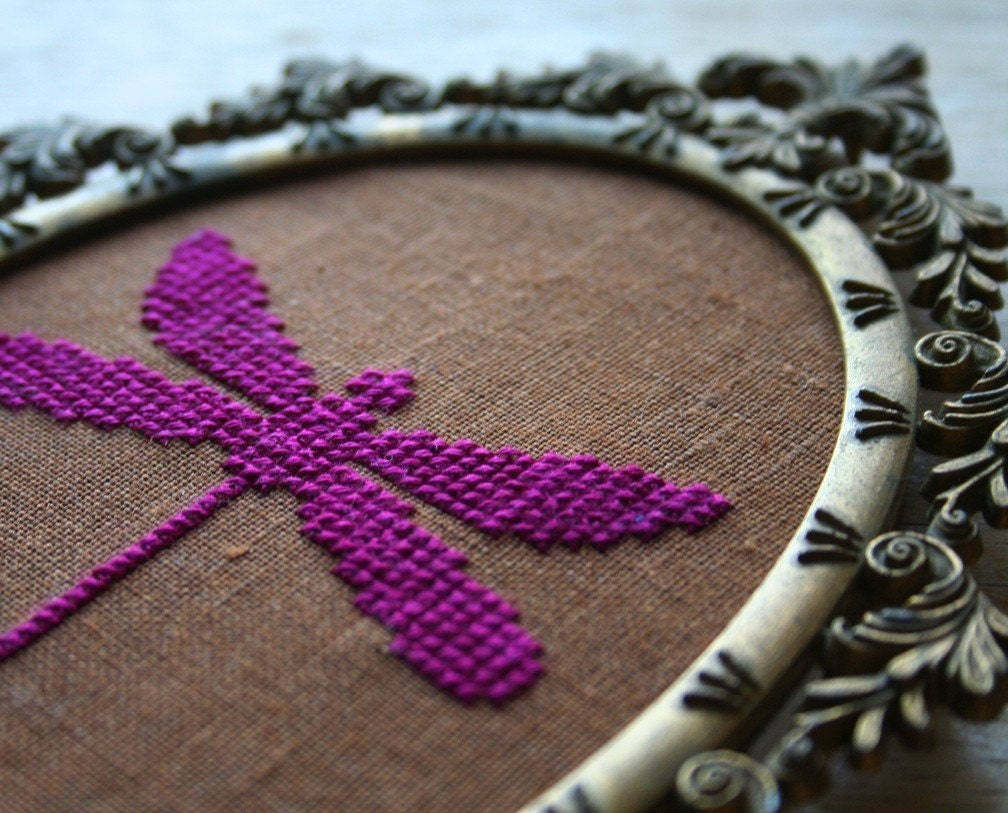
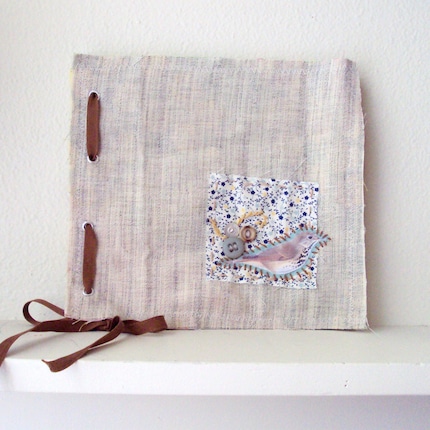
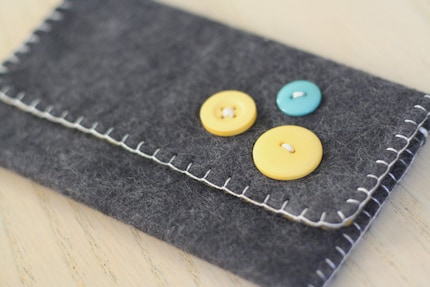
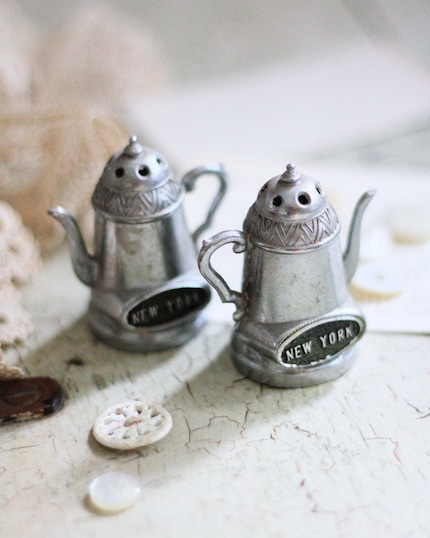
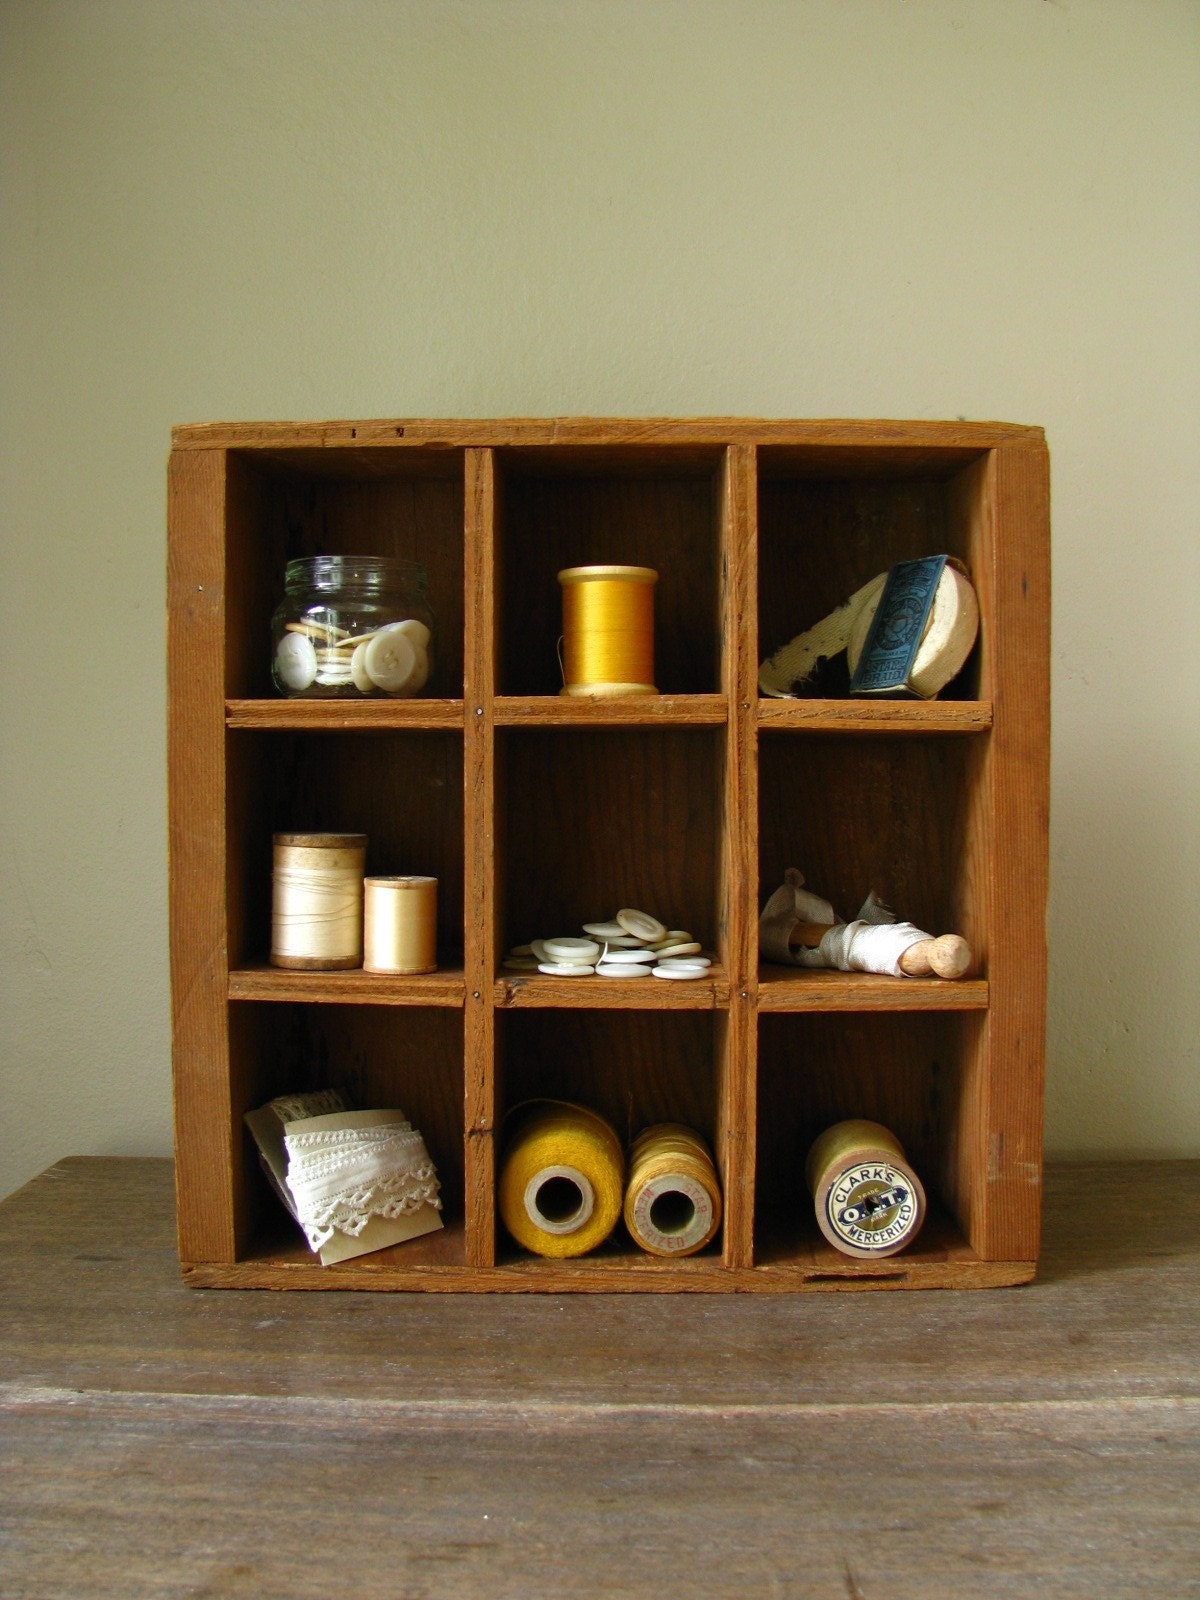
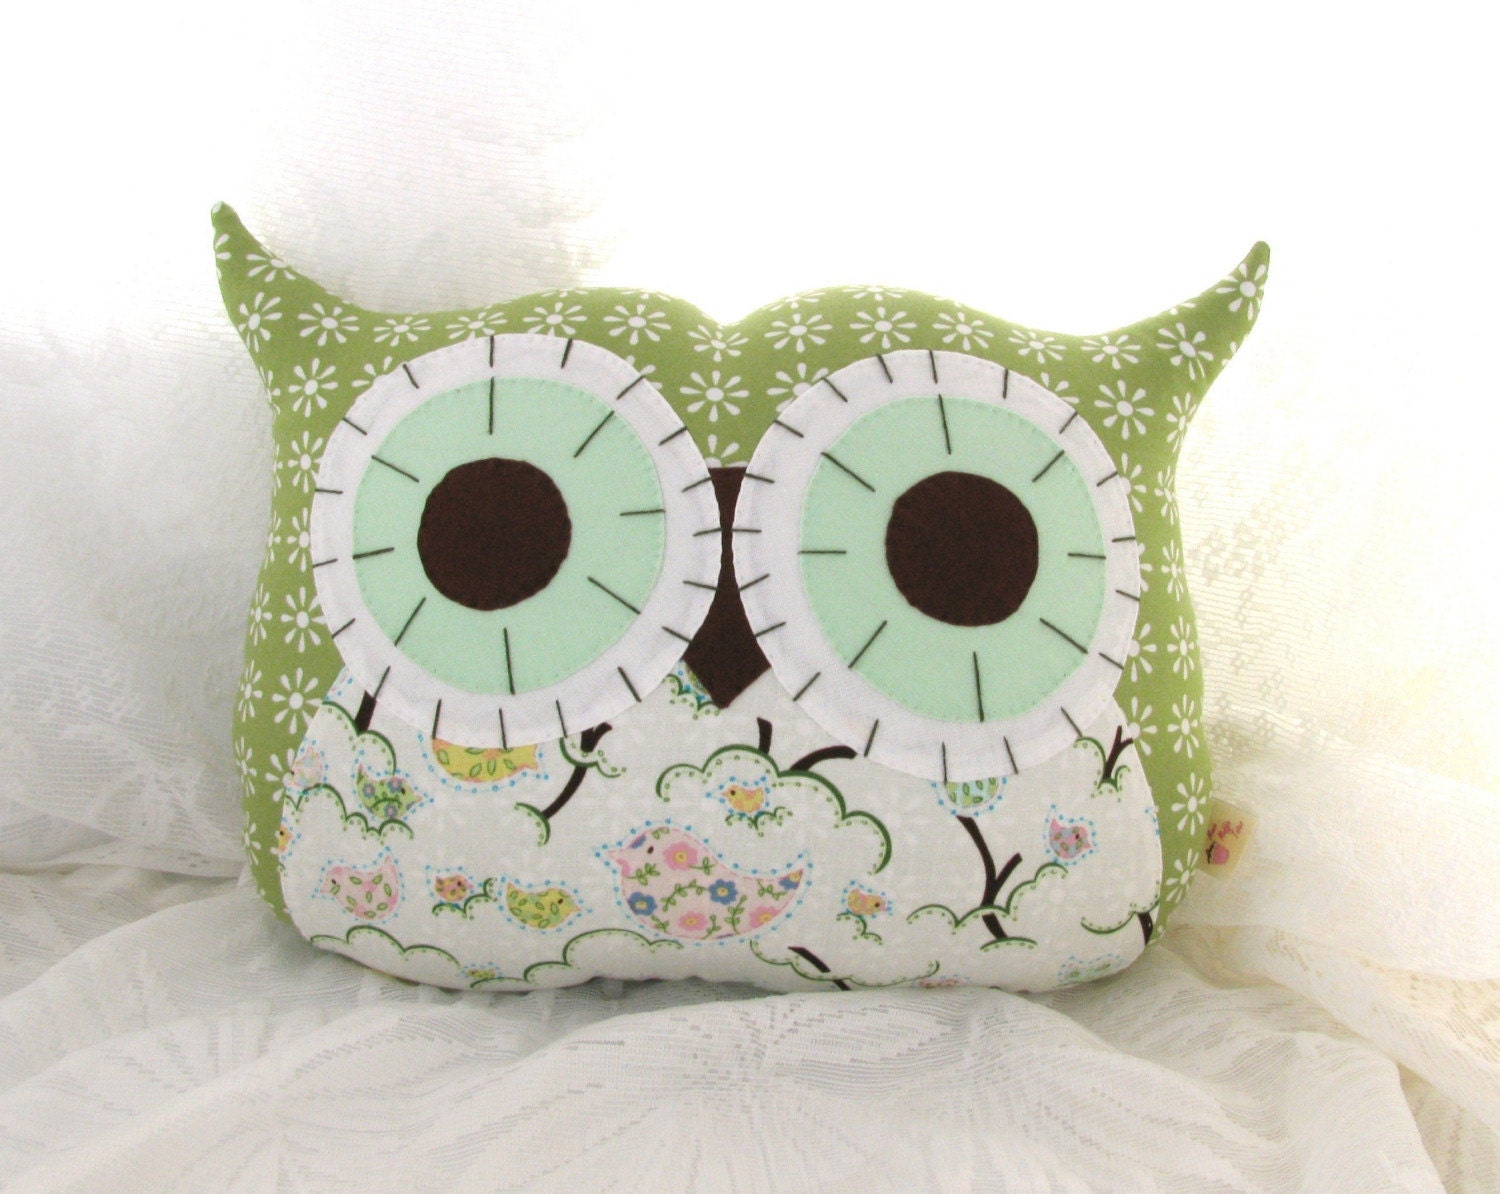
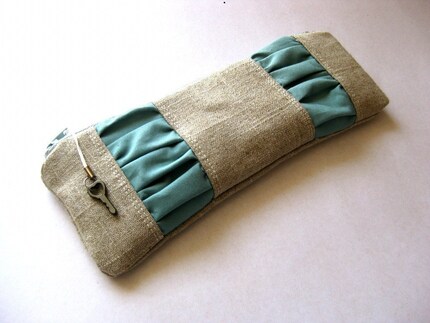
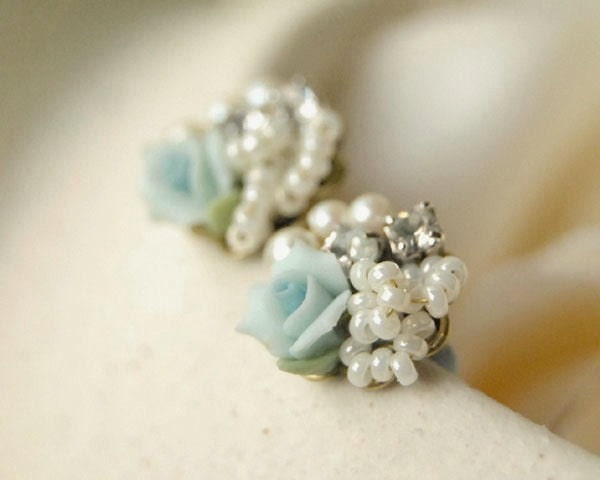
![](https://blogger.googleusercontent.com/img/b/R29vZ2xl/AVvXsEgnkDh6FgvbPH7teZwkde_kIn2EHwqVAYbKgLlcdZg5EpobHTqdkNNDqGWper9U8nt3nkRL5Tum4fnGQag1o1MX3uwzKZdtwjxMzlOLqiR-E6JOqJqyZWS-fKNl_SXIp_4adu1-IbeyX4A/s800/recipeheader.jpg)
Peanut Brittle
2 cups sugar
1 cup light corn syrup
1/2 cup water
2 cups peanuts
2 Tbsp. unsalted butter
1 tsp. vanilla extract
1 tsp. baking soda
1/4 tsp. salt
Combine sugar, corn syrup and water in a large saucepan. Cook over medium-low heat, stirring constantly, until sugar dissolves. Cover and cook over medium heat 2-3 minutes to wash down sugar crystals from sides of pan. Add peanuts, cook, uncovered, stirring frequently, until mixture reaches the hard-crack stage (300 degrees F on a candy thermometer). Stir in butter, vanilla, soda and salt. Working quickly, pour mixture into a buttered jelly-roll pan; spread thinly. Let cool until firm; break into pieces. Store in an airtight container. Makes about 2lbs.
Caramel Popcorn
1 cup butter
2 cups brown sugar, packed
1/2 cup light corn syrup
1 tsp. salt
1/2 tsp. baking soda
1 tsp. vanilla extract
6 quarts plain popcorn, popped
Melt butter in a saucepan over medium heat. Stir in brown sugar, corn syrup and salt. Bring to a boil, stirring constantly. Boil for 5 minutes without stirring; remove from heat. Add baking soda and vanilla, mix well. Place popcorn in large bowl. Pour mixture over popcorn, stirring to coat well. Spread popcorn on lightly greased baking sheets. Bake at 250 degrees for 15 minutes. Stir; bake for 15 more minutes. Cool; store in an airtight container. Serves 15-20.
![](https://blogger.googleusercontent.com/img/b/R29vZ2xl/AVvXsEiNEsyr4W_MzLjxfzRZ3ryyHVzWN9MviJeGLTrzu0VgYqwK26pOLY0DSsSQC6RdVz40wMkcT_SV13vFkQdHOa2llYC4hb_rNBak6X2C4cQ3rXf7U76N0J6tJ5algu3YhJUlp8mrwE8b8cs/s800/Memory_Header.jpg)
So you remember playing Memory as a kid? I LOVED that game. (I still think it's fun to play! :)) She has a super simple tutorial/how-to on how to make one yourself :) You can find the tutorial here.
I also saw another idea on a different blog (cannot for the life of me find it) about using pictures of family as the memory pictures (will post if I find it).
What a great and easy game to make for a little one, or to play at a get together. I mean seriously, I think it would be fun if you made a HUGE game, like, 50 different pairs... or more. I think it would be challenging even for an adult! :)
*All images by Jess @ Craftiness Is Not Optional
Monday Faves: Laundry
So laundry has been piling up lately, and is definitely on my to-do list today :) I know laundry can sometimes be blah, so I rummaged around on etsy for some fun laundry-inspired findings. :) These are sure to make you smile and hopefully make laundry time a little more enjoyable :)
![](https://blogger.googleusercontent.com/img/b/R29vZ2xl/AVvXsEjezwzaM0KghnY65t1nIuIUrI9znnBIfkljFuvreEAG-zcWfxHEO2CbuUbkFgcqxcnvupXSW-eZX3gqMuimZ82GAGtFYX8jsK8ngmyuBoZGgFHzDm7JZKeRS3raf8j8hf227hJLtRjXfgA/s800/LaundryFaves.jpg)
2. Laundry Detergent Fabric Softener by mrsjonessoapbox
3. Line of Laundry Blue Vinyl Messenger Bag by kittyempire3
4. Abandoned Laundry Line by Tresijas
5. Patch Dryer Pillow Sheets by zJayne
6. Linen Clothespin Bag by CityChicCountryMouse
7. Primitive Laundry Wood Wall Hanging by irishcorkie
8. Clothespins. Orange Gingham by ThePaperedCrown
Cinnamon Cake
![](https://blogger.googleusercontent.com/img/b/R29vZ2xl/AVvXsEhKU8ndeD2YraQx8yhR6qtHzwR4fvY-kRgcT4sWpULgVqEZWNam0v_-rhMkaIUxiqsehfSheBGb2w0mvJQXxFXamn3dmARwBCcLEQ8I01xrSQbc7-6SZrNDZMDc3gkSMEObHVw1t9Bosio/s800/recipeheader.jpg)
Cinnamon Cake
1 pkg. yellow cake mix (18-1/4 oz.)
3.4oz. pkg instant vanilla pudding mix
3/4 cup oil
3/4 cup water
1 tsp. vanilla extract
4 eggs
1/4 cup sugar
1-1/4 tsp. cinnamon
Preheat oven to 350 degrees F. Combine first 5 ingredients in a large bowl. Beat in eggs, one at a time, until smooth. In a separate bowl, combine the sugar and cinnamon. Grease a bundt pan and sprinkle with half of the cinnamon-sugar mixture. Pour half the cake batter into the pan. Sprinkle remaining cinnamon-sugar mix on top. Pour remaining batter on top. Bake in preheated oven for one hour or until golden brown. Cool for 5-7 minutes and then remove from pan. Pour icing (see below) over top while still warm.
Icing:
1 cup powdered sugar
3 Tbsp. milk
2 tsp. butter
Mix all ingredients until smooth.
Tuesday Tutorial: Jotter Journal
![](https://blogger.googleusercontent.com/img/b/R29vZ2xl/AVvXsEjt4B2suDzvuTsZ-8MdIymka6sgRbH5-lthaYU9O7U6RrL6mcOBd7UyIZrGlL346BGIbo9DFV0gNu9fTI_anO4NWuFvCeVmmS8gwrPjLZijJKhMWS-3k2UkFbA9swsJuGTGs3W_C3jTjCQ/s400/Header+%25281%2529.jpg)
I was putting my son to bed the other night and was thinking about a fun way to have a jotter type journal that I could switch the cover at any time (I have no idea why I started thinking about this, lol... can you tell I love journals!?). At first I thought about using plastic cover material you can get at a fabric store (like the kind I used for this journal cover here), but decided to use something that I already had on hand and that is a common office supply (I might try the plastic cover material later on :)) and I thought of a sheet protector!
After many attempts, I came up with this cute little journal- the front and back covers are "pockets" so you can switch out the cover any time, or store pictures, receipts, findings, etc. :) I thought about using it as a grocery list holder, notes jotter, and also as a recipe holder. When I'm trying to find a last minute recipe at meal time, I'm always scrambling for a piece of scrap paper (hard to believe I have so much paper in my studio and never can find a small scrap piece of paper ;)) to write the recipe on that I find on the internet. I feel like this will be perfect for that! We'll see how it goes :)
First, gather your supplies. You will need a sewing machine.
+ 8.5"x11" sheet protector
+ various papers, or use blank computer paper
+ 2 paper clips
+ ruler, rotary cutter and cutting mat
Sew a straight stitch with 1/4" seam allowance to close up the sheet protector.
![](https://blogger.googleusercontent.com/img/b/R29vZ2xl/AVvXsEgfM38LUTCllXVQsnVkZ6ID2umxAozkWqbCQbvb0nWBL4ugqr0otgt9LtR65Zdj6gCYdVCOV0KzT0YokSqnGBCQ6WFJops-hV44KgJKYv-ePxjQAIsZt2ZLXs9ZBBbP4tAxbC9r6kiDH78/s800/2Sewing.jpg)
![](https://blogger.googleusercontent.com/img/b/R29vZ2xl/AVvXsEjWSqPNgunoeQNU4swSJ1YdiowBJ5yI-PJ1pRYngvIAGIlzpuEMKzKZHtcQi3HZtpt-McQiSPrwHFKbkoi_AtegXWBiAIKzktNsuAWtH1j2U3oIGCGrMvYTZMp2RnJCQiOYgCrdLq8rt4k/s800/3Sheet.jpg)
![](https://blogger.googleusercontent.com/img/b/R29vZ2xl/AVvXsEgxUPTstqB0MHmWXUQOqLHyIrF4l6HbOqkOWtmxSVLrnZSxNXAhqjfUpim8Fa6o6tvzMrXmcUSuISnRktF2Gk45W0KXoS8Aa448NTraYttnD7sX6_eICPd4vV4T1q_22w979zdeMi27kyA/s800/Stacked.jpg)
![](https://blogger.googleusercontent.com/img/b/R29vZ2xl/AVvXsEjaenTvg4mRt1QXlTD9GrEVr_Y_9ANxPfjmzIOd2wEpCteVw6OoEx42EeTNYW2AEPk-UhNhMSQ5negKeMDiVf9FQTtSf17omCGgwGxiaENG3n3vqbqKmzdOhJb9Cdp-GjjjYDxeehLLvDQ/s800/4aFolded.jpg)
![](https://blogger.googleusercontent.com/img/b/R29vZ2xl/AVvXsEjIsbnzop7TRmLKVcJKyM0xnlLIPlzjBmg8FBUnr2Kxh9BcOiJeRuSJFPe-5FbCO-bgQzyXuf3nDprVWH1uTVQKSTju-GJLeLuZNV9o8HHhydME8a3ubjGur7njIuRcKxS6eVuAaJOwkzw/s800/5Stitching.jpg)
![](https://blogger.googleusercontent.com/img/b/R29vZ2xl/AVvXsEiTOiMQfoqx-jqj4hOHW_ljmdGx5htvQwWZxXdVoOUOs6j67kf9E9ATsr3qs6FuwPkYeVpDGEECNHbWbxoCddVnx2n8CpjDs7RxzZ5Cyyt-gojc4IMHQSw1J_EkSEisIpGsOQIQrNN7PIY/s800/6Stitched.jpg)
![](https://blogger.googleusercontent.com/img/b/R29vZ2xl/AVvXsEg0_D4Ru7Gfc1jzyz_P9d30g7FhYs9BTUJjzhDDOs6IY2jzVrx6UlpBIRSx7qM8lo2qlpoDKTrrilDn8zcryeA9z2XNBPfoHvLtSuxYK4uP_LfzEhT13OrCSy9FNHFZh7lVQLbp5QXdwpM/s400/7Closeup.jpg)
![](https://blogger.googleusercontent.com/img/b/R29vZ2xl/AVvXsEiyG3JLq-U6CKB89T__sM0p38VZKD_vsG6WCkUMpMIR7gWZf3jZXxxUaP11UoeeRSHzRq3Cj-JZB50tFkcbYIdgbplYZOhp0uYJTKcfsyqER0X2hnMQurde6SC3wQHfwfhjZgC3h9ZBXqM/s800/8TopCut.jpg)
![](https://blogger.googleusercontent.com/img/b/R29vZ2xl/AVvXsEhPYr1niLwmHplM1YJXkNRtuFAXO-wAebfGKEOwHZUHfyV-Vn53xbb5kiZQjcTVcTlSwrLPGsmazFWrnIVYH5-GijBOUdFnd2eezKCVlr5I2nmbGJGSnaKMvJ60p657AfKEhn5EjSaxKuU/s800/9EdgeCut.jpg)
Measure each cover section and cut your cover piece down to that size. Mine ended up being approximately 5.5"x8", but I had to shave off a little bit at a time to make it fit perfectly. Better to keep making small cuts than to make a too big one and have the cover be too small. :)
![](https://blogger.googleusercontent.com/img/b/R29vZ2xl/AVvXsEhWxTnQJMbt0Ul69pBtHfIMe3m6qY5JbE05XrwndPoInLzwkuL_oJIvgjROxFRe3Re5XxRHHDQPLt3fD_xVwYoHHf9zQWUidTuUVTcn57OEGFoSO54GECS3KM1RtAQkI3GHykLkqqXD32s/s800/9TwoJournals.jpg)
![](https://blogger.googleusercontent.com/img/b/R29vZ2xl/AVvXsEjHncr_hyajGMMwQNMu4IfarIjK4rGSaOi618f_mYuRchB7SB1OI-hVqZYLf_2zW6t9e0KdSq9WvsvtrkC_JadEEyxnSYk7XFReZC2KK42y1085ITH8Vli0NwnAAyVNFYE9kn430lBzIOo/s800/Picture-042.jpg)
![](https://blogger.googleusercontent.com/img/b/R29vZ2xl/AVvXsEhG6ZjPYyKIfwl5BcBGDEJT-7tL-6MNa2lrsv1C5T_1i6hR6JJqydK-rO7Y2BPlOAs8LbFwtpNanFBzBkxrExbw5xI8_q-KZWRxWlX7ZrAcRLjlWpv26B4ZuJeTaCoC0ZRKK4qrgfA272c/s800/New.jpg)
![](https://blogger.googleusercontent.com/img/b/R29vZ2xl/AVvXsEjBRRBnIfouWI-ovTpBWV_1jSQU6WU6l43fGwINmwVli_XO8XArNsJcJs1mnpk8qti_kPvldIAoLQ-itXdkgYn23uFoRiR_xsCsciQPRSCY5rSB2fqJf32XWfUsos4G-DWRt_VIiOLiSnM/s800/10BackCover.jpg)
![](https://blogger.googleusercontent.com/img/b/R29vZ2xl/AVvXsEij-Uisf13YwlocrQbRTRnHJVam8wsGpHC7QsULAC2F_CczoXJ8hmzxigt6SG6JvCeTt2MOKxgYiAc7kfpIBf3HY11f1Pl8V3A5ckJoWKlxW4RjVnesM-k_NEEWbTYsVDmM49PVzOScr_c/s800/13GatheringThings.jpg)
![](https://blogger.googleusercontent.com/img/b/R29vZ2xl/AVvXsEgwFQ39g3JVvJUNVBXarHM13cKjCM59BnjNyX1MoA97Xm50G55sVCMY1PQkxBI-IOM3z6mZr1obIQLh0sKBJRiYOMZO_s140V92Pq3XCPQ0MG2XSmNjdbSn8kSekKoVqYwRfepD2HdNgUk/s800/14Things.jpg)
![](https://blogger.googleusercontent.com/img/b/R29vZ2xl/AVvXsEj4pTjrTe2xrTawHp9uKzafH1CRuUJcrWD5lO_K3lZU2295rl2ERKoXSV69d1YxuV0RHL2bOBIfEk-robYdavRB7DmhEuRdkoUCtkC8Tyi-HGyviR1kEfo1AVIFSGHZyVTvc0DN0MS7JGA/s800/AllThree.jpg)
Monday Faves: Birdcages
So my theme for today is "birdcages" :) I associate birdcages with my sweet grandma, "Nonie," who passed away about two years ago at the wonderful age of 91. We grew up going to her house and seeing her all the time, as she lived only a couple miles from our home. Any time a gift was being opened by her or by someone else in the family, she would warmly and half-chuckling say "It's a birdcage!" Didn't matter if the gift was tiny or large (and obviously it was never a birdcage) she would always say that and we would all laugh :) Oh, how I miss her! So, a fun assortment of beautiful goodies having to do with birdcages. Enjoy :)
![](https://blogger.googleusercontent.com/img/b/R29vZ2xl/AVvXsEh0Gp01106IAkUMEgDa0etDjZqTvb9HDoaSTDVssu_czzySzWDjPhm7T0c2zu2Ai9VAEE_xnrGDmlXM1lY3nZlwvP17iYQDAGS3vqvO_eOWsV4fO_ZEZF1VkR9Fi5cFDIij6ngV0TxuFtY/s800/Faves.jpg)
2. Yellow Birdcage Wood Keychain by applechampagne
3. Red Bird Coptic Journal by ElvieStudio
4. 50s Birdcage Pillow by Olive
5. Bird's Blossoms Notecards by DotsAndDahlias
6. Long Antiqued Necklace with Birdcage Pendant by sugarcookiedolls
7. In Touch Clutch by downstairsDesigns
8. Birdcage by simplyhue
9. Birds in Bloom Large Journal by APunkinCardCompany
10. Don't Fly Away Birdcage Necklace by beazuness
11. Birdcage Tags by petitepaperie
12. Hand Painted Lime Green Birdcage Fabric by plainjanetextiles
2point5d Photography: Photography Tips!
1) Lighting is everything. Of course! Photography is the recording of light so this is the first thing that is important! If you ever want to know a real party pooper invite a photographer on a vacation and they'll complain about the lighting the whole time (I won't though if you invite me!) Set up your item in a very well lit area. This is best near a window or even better outside. Make sure there is even light on the item.
2) If you can change your ISO (which is your sensitivity of your sensors..in the digital world) change it so that it is about 200. This really depends on how much light is reaching your item. So if you go through all these steps and your photo is too dark or blurry, start back here and increase your ISO. You can change your ISO in all DSLRs (those big fancy cameras), all hybrids (can't fit in your pocket but not as big as a DSLR), and most point and shoots (fits in your pocket).
3) The next important thing when showcasing your beautiful work is changing your aperture or your f/stop. Same thing. For instance, I photographed some cupcakes for a company and I wanted the cupcake in front to be in focus and the cupcakes in the back to be blurry. Changing your f/stop will help you do this. If you want an extreme focus change make your f/stop a little number (mine can go f2.8) if you want everything in the frame in focus then make your f/stop a big number (mine can go f/22). If it's possible on your camera move your camera off of the Automatic mode (go on you can do it!) and turn it to the "AV" mode. In this mode you tell the camera that you want complete control over the aperture (or f/stop). Personally I think this is the BEST mode to photograph items in! Advanced tip: In this mode you won't have to worry about metering because the camera will tell you what the shutter needs to be.
Here is an example of using a small f/stop number to make more things blurry...
![c1](http://files.2point5d.com/2010/05/c1.jpg)
4) If you have set your camera in the "AV" mode then there is nothing left to do but to snap the photo! Check that photo in the LCD if it's too dark then like I said increase your ISO (just a little at a time) and if your photo is too blown out then decrease your ISO, decrease some light coming to your item, OR you could have a metering problem which can be solved by looking at your light meter (which probably looks like something below) and making sure that when you press your shutter in half way the dancing dot is underneath the middle part (as pictured below).
![proper-exposure-light-meter](http://files.2point5d.com/2010/05/proper-exposure-light-meter.jpg)
If you're photo is not in focus (this is also a severe problem) then start back at increasing the light to your item (open the window more, turn on a lamp), the increasing your ISO (just a little) and then snap the photo. Or uh duh did you forget to focus? It can happen to the best of us. Don't take the photo unless it looks in focus in the LCD screen or viewfinder.
Just another simple tip if you're posting your photos on the web. DOWNSIZE the photos! I expect you to take very large photos! Don't put them on the internet. Have you ever been to a site when you have to wait for photos to load?! I close the window and never look at the photos, I just don't have the patience! Decreasing the size of your photos will help them load faster on your page, the photos DO NOT have to be large for the web! The photo above is 450x675, I think that's a great size for the web!
If all else fails read your manual (I know yawn fest) about these specific things: "ISO", "AV mode" (or "aperture"), and then "light meter".
Kaitlin Roten is a photographer located in Wake Forest, North Carolina. She specializes in stylish, timeless, and unique portrait and wedding photography. She also photographs everything else, but hates saying that. Her most recent work can be found on her blog: http://2point5d.com/blog.